WordPress is a popular website builder. With WordPress, you can create blogs, web applications, e-commerce, and more. And it can be used as a web application framework too. Hence, WordPress is the number one CMS in the web market
Still, more than 50% of websites using PHP, and in those almost 40% of the websites built on WordPress. If you want to try WordPress, it’s always a good idea to install and try on your local machine first.
You can start developing a WordPress website by creating a free account on WordPress.com, or by installing WordPress on a server.
To install and run it on your local machine you need to have a server. For this, I’m using XAMPP. To install XAMPP, you can watch my tutorial “how to install XAMPP in your local machine”.
Okay let’s start,
So the first thing we need a database, so just run http://localhost/phpmyadmin in your browser and you’ll see the below screen,
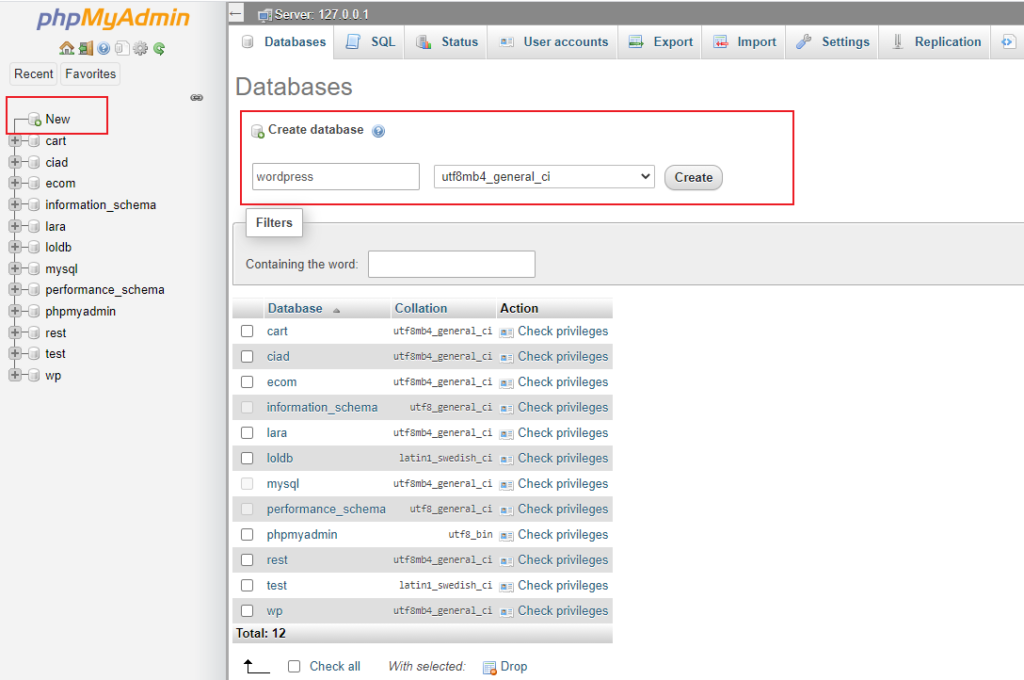
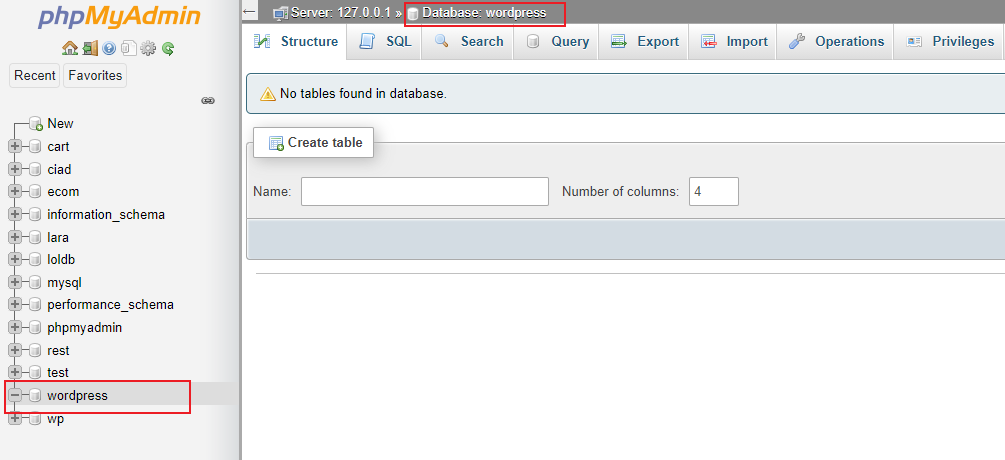
In the left pane, click New. You can see Create a database form in the right pane. Enter your database name, (I named my database as “wordpress”) and click Create. Database created now.
Second, we need to download the WordPress package, just visit https://www.wordPress.org/download
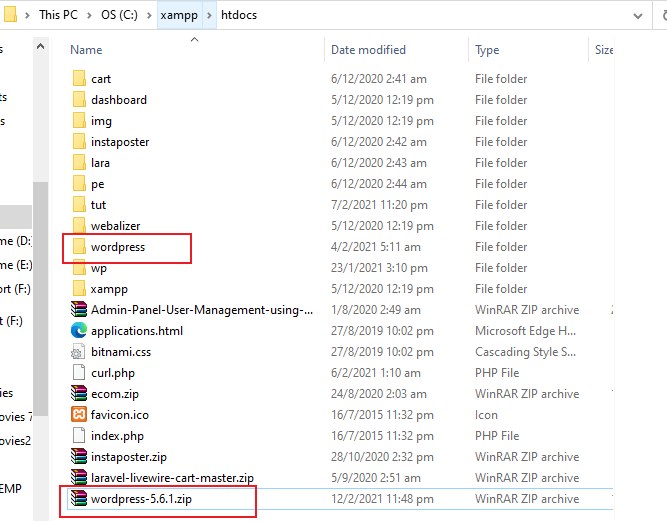
On this download page, you can see a button that says Download WordPress. Just click it and download the .zip file to your htdocs folder under XAMPP.
Unzip the package, and rename the folder. I named it “wordpress”
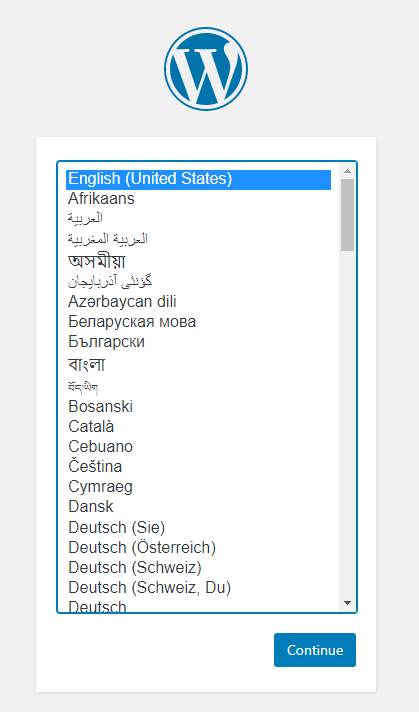
Now let’s run http://localhost/wordpress in your browser, and you will see a language selection page select you are language and click Continue.
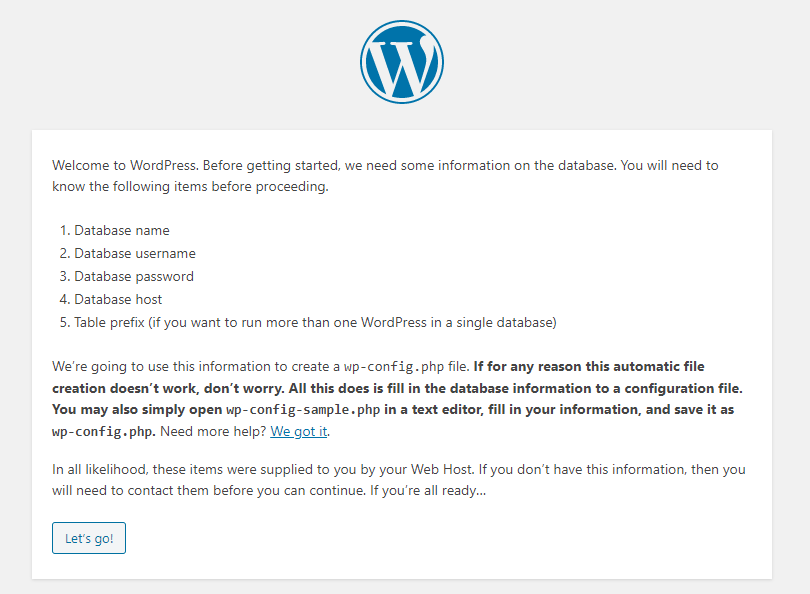
And you will land 2 a config setup screen, which will tell you what are you going to configure. Click the Let’s go button.
Now enter the database details,
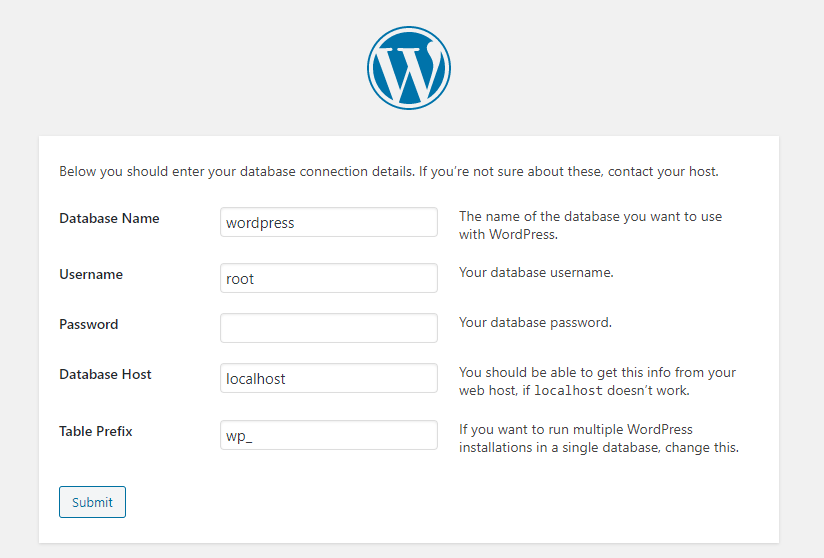
1. Your database name
2. Your database username, mostly it is ‘root’
3. Your database password, mostly we don’t have a password so you leave the field empty.
4. Your database host, mostly it is ‘localhost’
5. Leave table prefix field as it is
and click Submit.
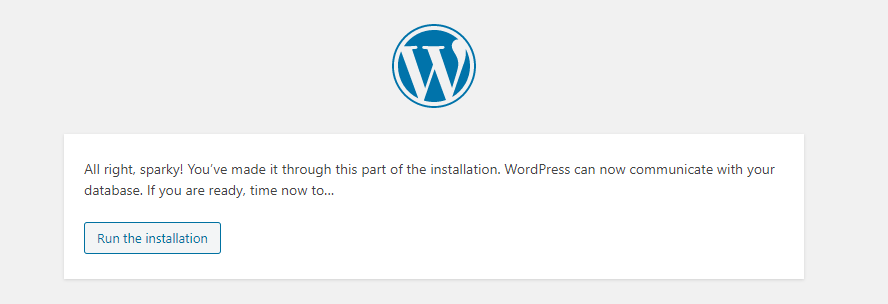
Now you can see the database connection was a success, so you can start to install by clicking the Run the installation button.
The installation was almost completed, now it’s time to update the website information like
1. Title for the website
2. The admin username.
3. Admin password
4. Admin email

After filling up all the information click the Install WordPress button.
Congrats you have successfully installed WordPress on your local server.
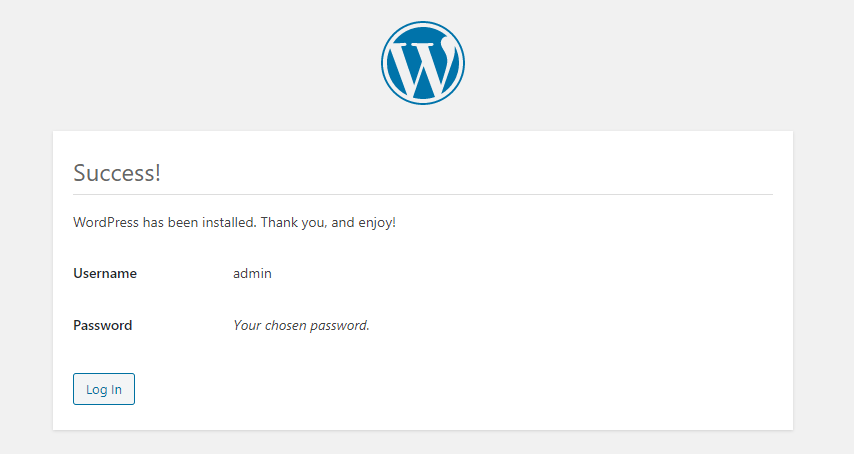
Here are the two links where you can access your WordPress site.
- http://localhost/wordpress/ – Website front end
- http://localhost/wordpress/wp-login.php – Website Admin (login with your admin username and password).
In the next tutorial, I will explain more about WordPress setup.
If you find this guide useful, do share it on Facebook and Twitter.
0 Comments